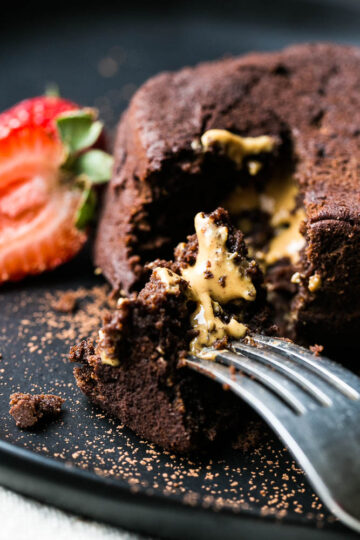
Are you looking for something simple for Valentine's Day? Just a little hit of chocolate without being over the top or too fussy? This little flourless chocolate cake recipe is just THREE ingredients! They're fudgy, decadent, and naturally gluten free!
Mini Flourless Chocolate Cake
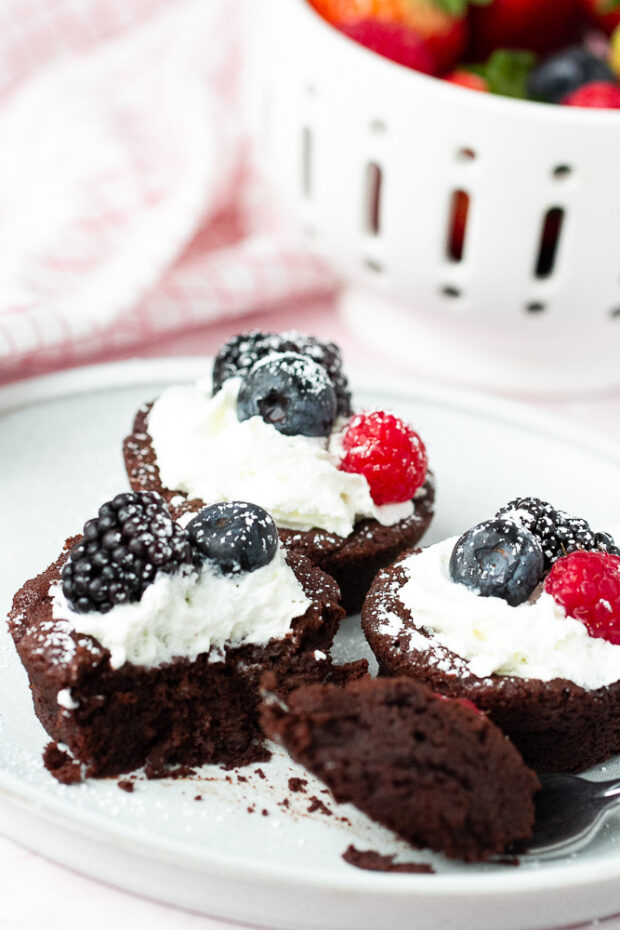
My favorite part about these cute little chocolate cakes is that they're the perfect combination of ease AND impressiveness. They look dainty and decadent, but no one will know they only have THREE ingredients and you had them made in about 30 minutes.
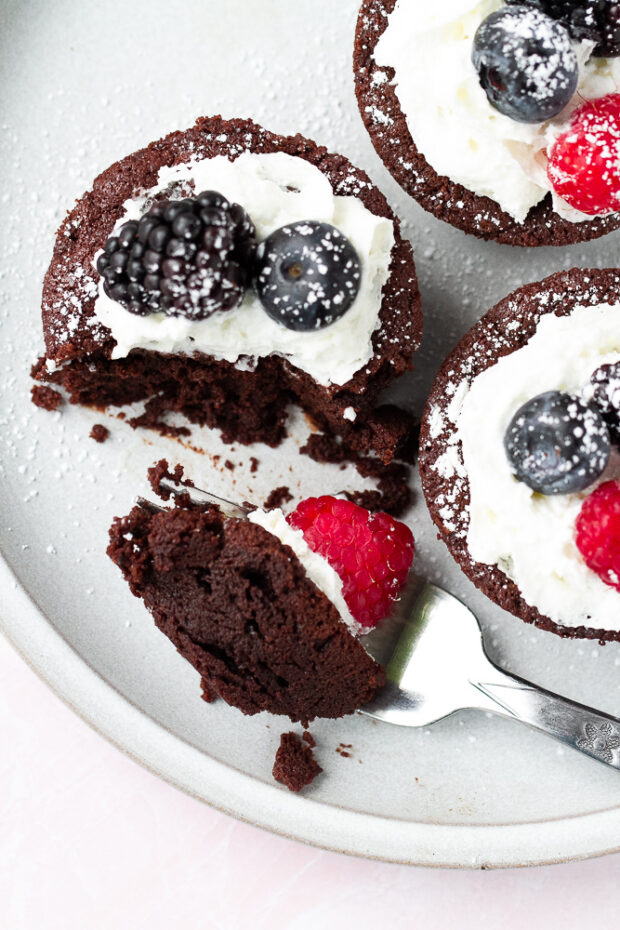
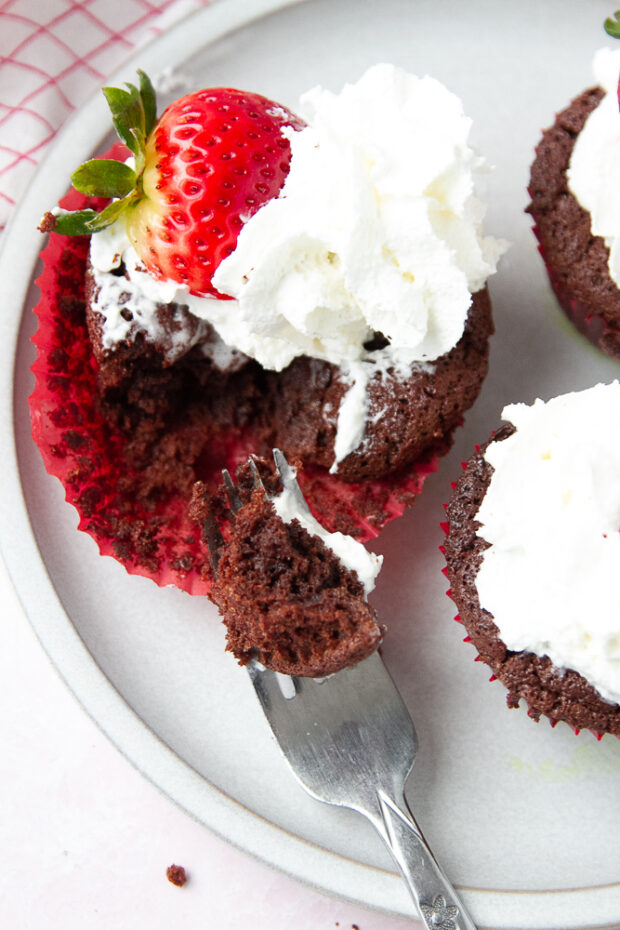
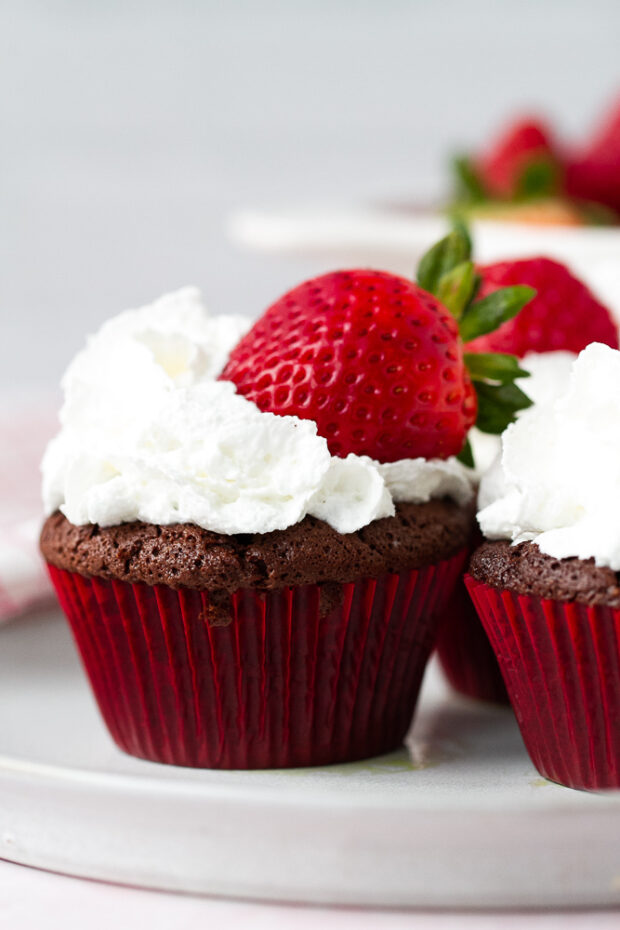
Dress them up with whipped cream (from a can -- you have permission) and some fresh berries for a cute little treat that won't leave you feeling heavy. After all, it's Valentine's Day. And you don't want to be feeling too full later ... if you catch my drift. ;)
What is chocolate flourless cake?
If you're not familiar with this magical kind of cake, it's a chocolate cake that has NO flour. Odd, I know.
Dividing the eggs and whipping the whites creates more structure in the batter so you don't need the flour. That means these little cakes are naturally gluten free and grain free and can even be sugar free if you use stevia-sweetened chocolate (like Lily's).
Why you'll love this Gluten Free Flourless Chocolate
- Only THREE ingredients!
- Done in about 30 minutes.
- Easy! The worst part is whipping egg whites. But you've got this.
- They seem "fancy" but are actually no-fuss.
- Naturally gluten free.
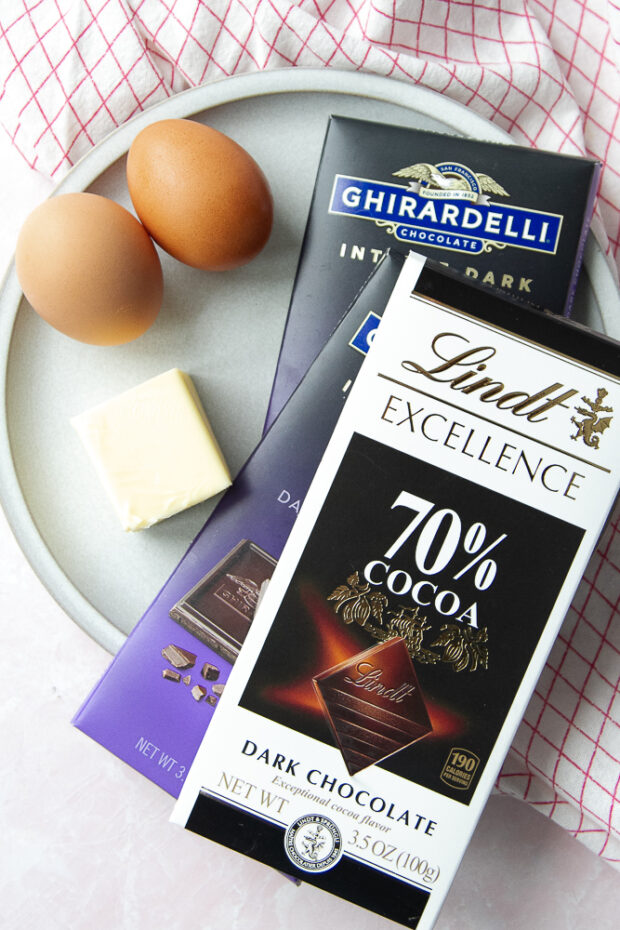
Mini Flourless Chocolate Cake Ingredients
- Dark Chocolate
- Butter
- Eggs
Chocolate Flourless Cake Recipe Tools
- Muffin tin
- Electric mixer
- Microwave

How to Make Chocolate Flourless Cake
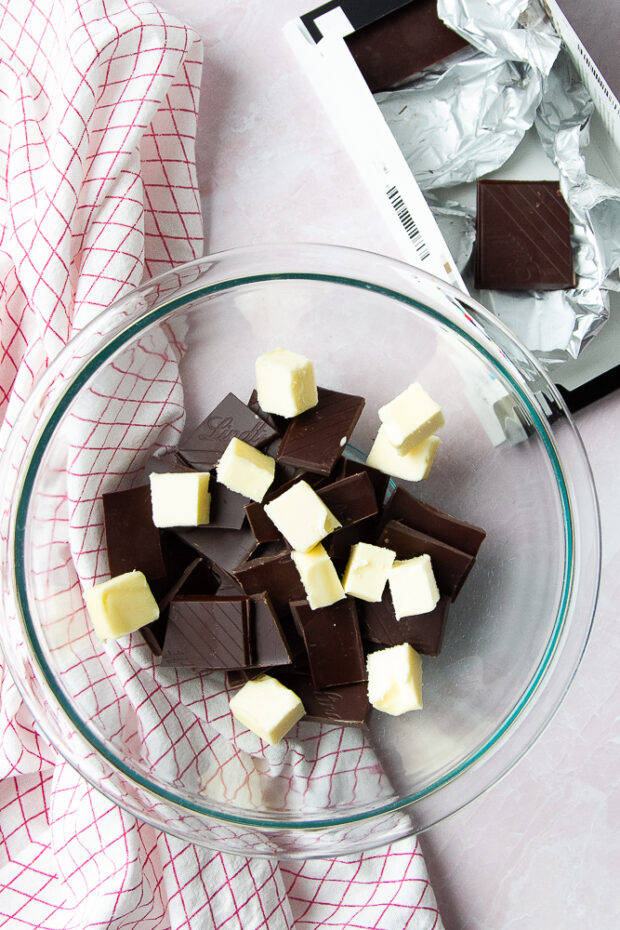
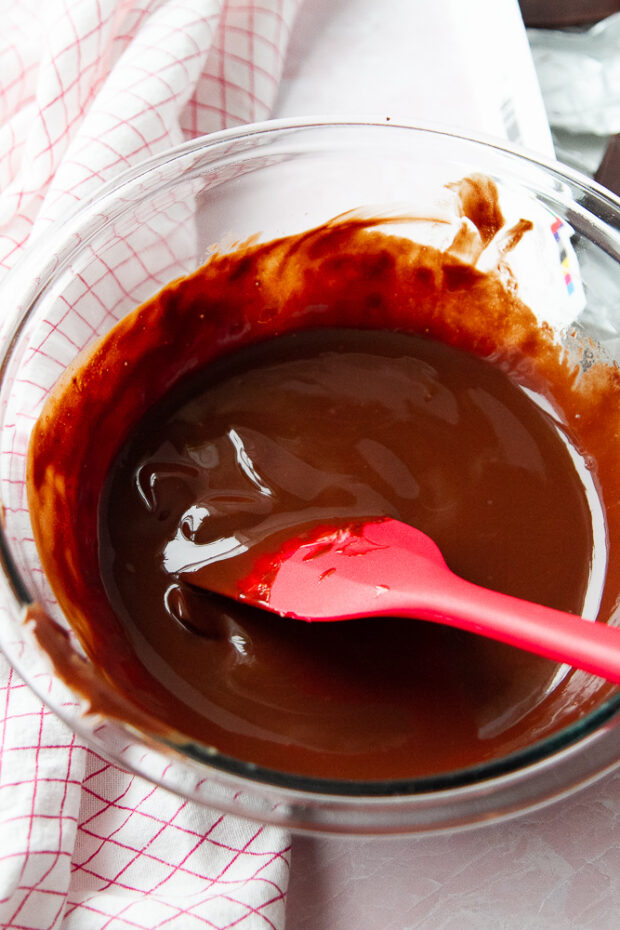
- Melt the butter and chocolate together.
- Divide the eggs.
- Mix the egg yolks with the chocolate.
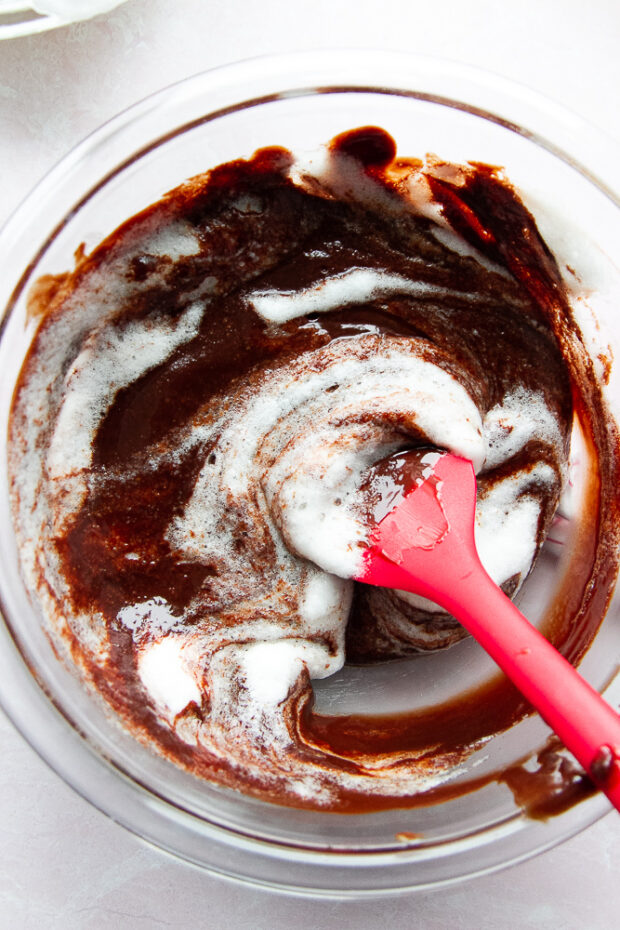
- Whip the egg whites until they're soft peak, then gradually fold into the chocolate.
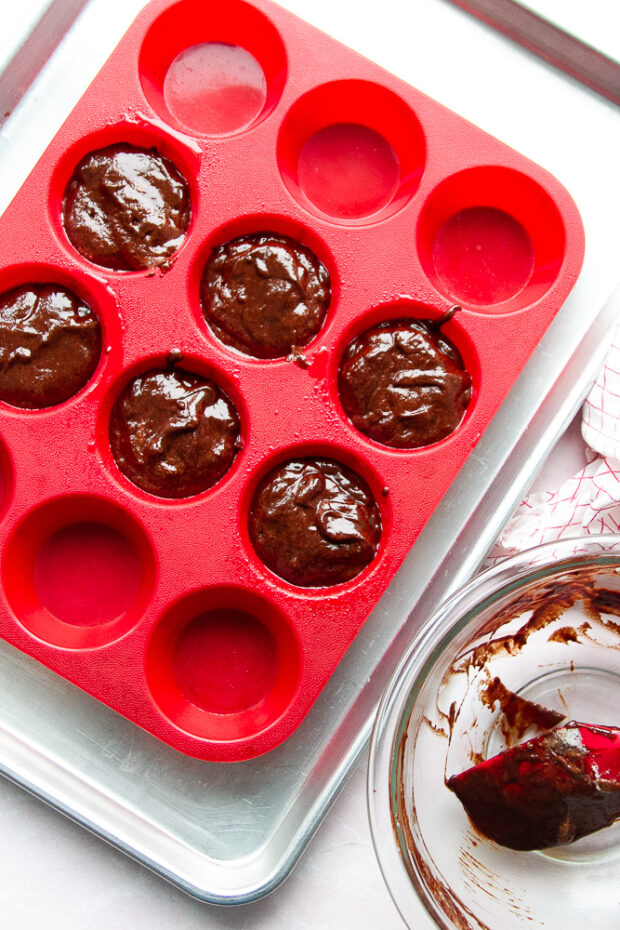
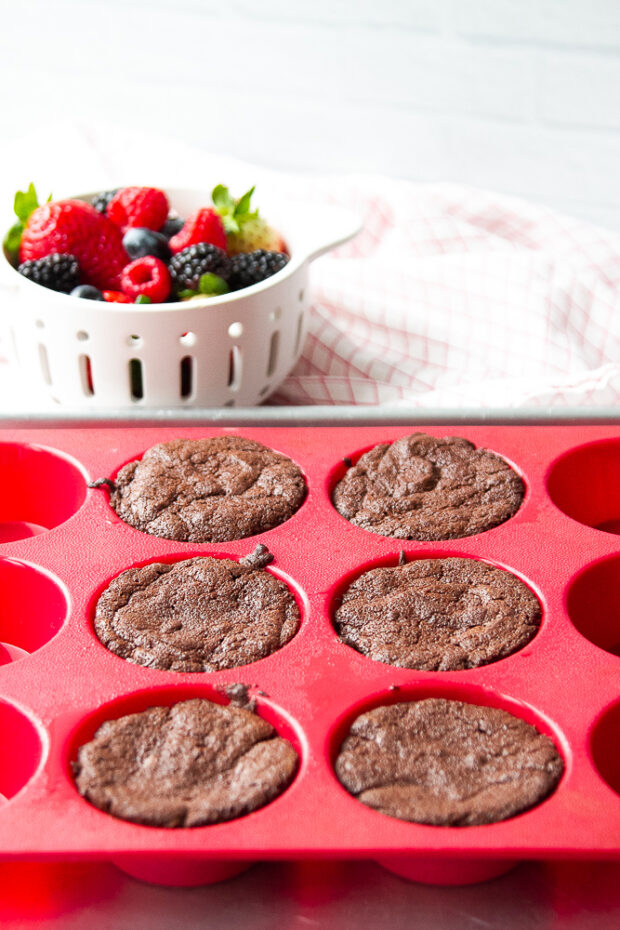
- Transfer to a muffin tin and bake!
Substitutions for this Easy Flourless Chocolate Cake
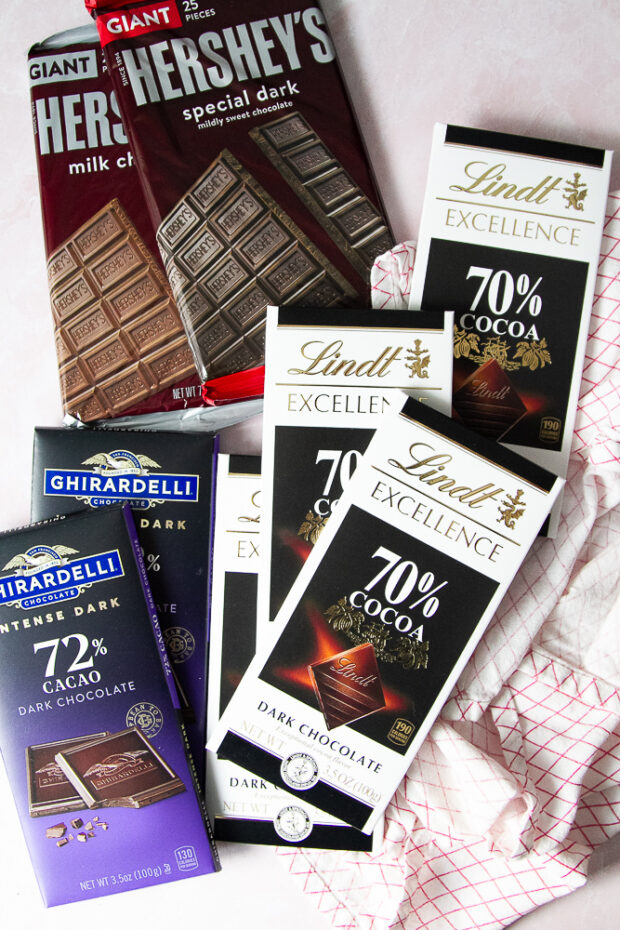
- Dark Chocolate: Ok, this is important. In order to get the dark, fudgey texture in a classic flourless chocolate cake you'll need to use at least 70% dark chocolate in BAR form. Not chocolate chips. I recommend 70% or 72% Lindt or Ghirardelli chocolate bars.
- Note: If you'd like them to be a little sweeter and don't mind a brownie texture, you can use semi-sweet or dark chocolate chips or Hershey's milk or special dark bars. You'll need to use muffin liners for this because they don't hold their shape as well as using a dark chocolate bar. I included photos below so you can compare the two types of chocolate.
- Butter: If you'd like this recipe to be dairy free, use dairy free chocolate and replace the butter with coconut oil.
- Eggs: I don't recommend replacing these with an egg-free substitute. The eggs are what gives the cake its structure, and I can't guarantee they'll turn out for you if you swap this out with something else.
Tips for this 3 Ingredient Flourless Chocolate Cake
- Please use the right type of chocolate I described above to get the right consistency!
- Don't burn the chocolate. You can use a microwave (or a double broiler situation on your stove if you're patient) but don't overcook it or the chocolate will burn and you'll have to toss it and start over.
- Make sure the bowl you use for the chocolate is completely dry. If there's water in there from being washed your chocolate may seize up and you'll have to start over.
- Don't overbeat the egg whites. When you lift the beaters, the egg white tips should gently fall to the side. If you beat them until the whites look a little curdled you've gone too far and you'll have to start over.
- Don't overbake them or they'll be dry.
- Eat them the day you bake them! They're best within an hour or so of baking.
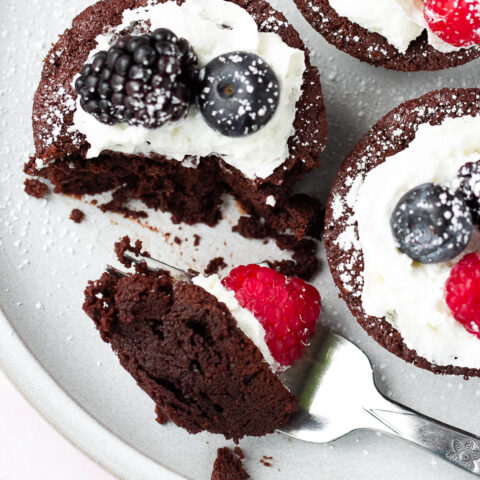
(These photos show the texture when you use semi-sweet or dark chocolate chips. See the photo below for the texture when using 70% dark chocolate bars.)
How to Serve Mini Flourless Chocolate Cake
I like to top these with a dollop of whipped cream and a few berries to add some tartness. You can get crazy and drizzle them with chocolate or caramel sauce if you want.
How to store Gluten Free Flourless Chocolate Cake
These are best eaten within an hour or two of baking, but if you need to store them for a few hours, put them in a lidded container and store at room temperature.
Chocolate Flourless Cake FAQs
Flourless chocolate cake will dry out in a day or two and won't be quite as good as the day you make them.
The only sugar in this recipe is the sugar that is already in the chocolate you use. There is no extra sugar called for in the recipe.
Because these are very small they don't fall down if you're using 70% dark chocolate bars. If you use semi-sweet chocolate chips they'll fall a little in the center and become more like a brownie -- I recommend using muffin liners if you choose to make them this way so they keep their shape a little better.
If you aren't using paper muffin liners, run a knife around the edge of the muffin cup to remove the cakes from the molds.
Yes! You may double this recipe to make a dozen little chocolate cakes.
More Chocolate Dessert Recipes on Perry's Plate
Flourless Peanut Butter Brownies (Gluten/Grain Free and Naturally Sweetened)
Peanut Butter Lava Cakes (Gluten/Grain Free and Naturally Sweetened)
Paleo Chocolate Chip Fudge Bars (Paleo friendly)
Gluten Free Chocolate Pie (Gluten Free & Naturally Sweetened)
If you make one of my recipes, I'd love to see! Post it on social media and tag me at @perrysplate or #perrysplate so I can send you some love!
Small Flourless Chocolate Cake Recipe
Are you looking for something simple for Valentine's Day? Just a little hit of chocolate without being over the top or too fussy? This little flourless chocolate cake recipe is just THREE ingredients! They're fudgey, decadent, and naturally gluten free
Ingredients
- 6 ounces chopped 70% dark chocolate bar (see note)
- 4 Tablespoons butter
- 2 eggs
- Whipped cream and mixed berries for serving
Instructions
- Preheat the oven to 375F. Prepare a muffin tin with liners or spray with nonstick spray. You'll need six cups.
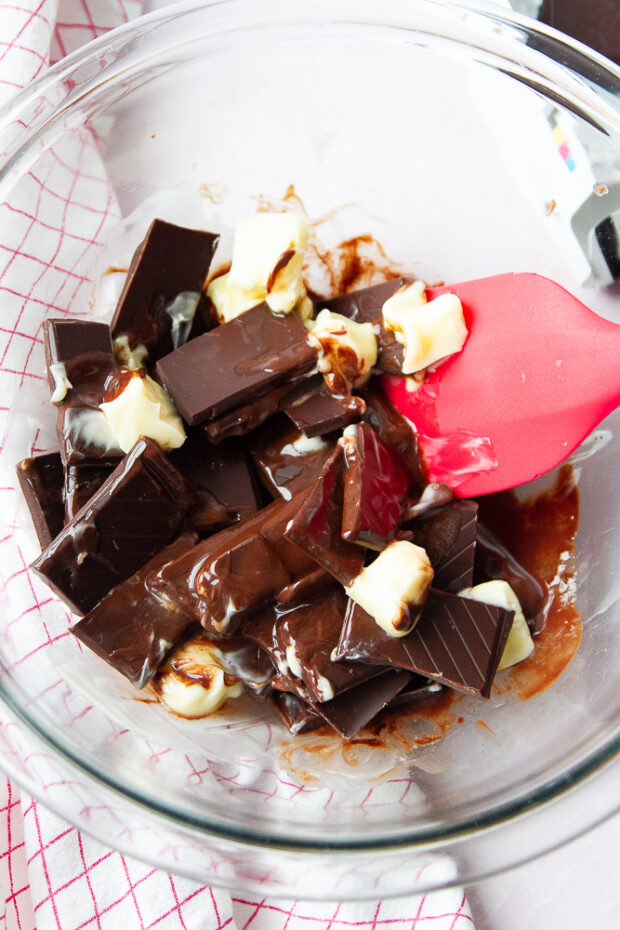
- Put the roughly chopped chocolate in a medium microwave-safe bowl. Cut the butter into small cubes and add it to the chococolate. Microwave on high for 30 seconds, stir well, then microwave again for 15-20 seconds. Stir until the chocolate is completely melted and smooth. Set aside.
- Divide the eggs, putting the yolks in a very small bowl and the whites in a medium bowl.
- Beat the egg whites with an electric mixer until soft peaks form. This should only take 1-2 minutes on high.
- Mix the egg yolks up with a fork to break them up and stir them into the melted chocolate mixture.
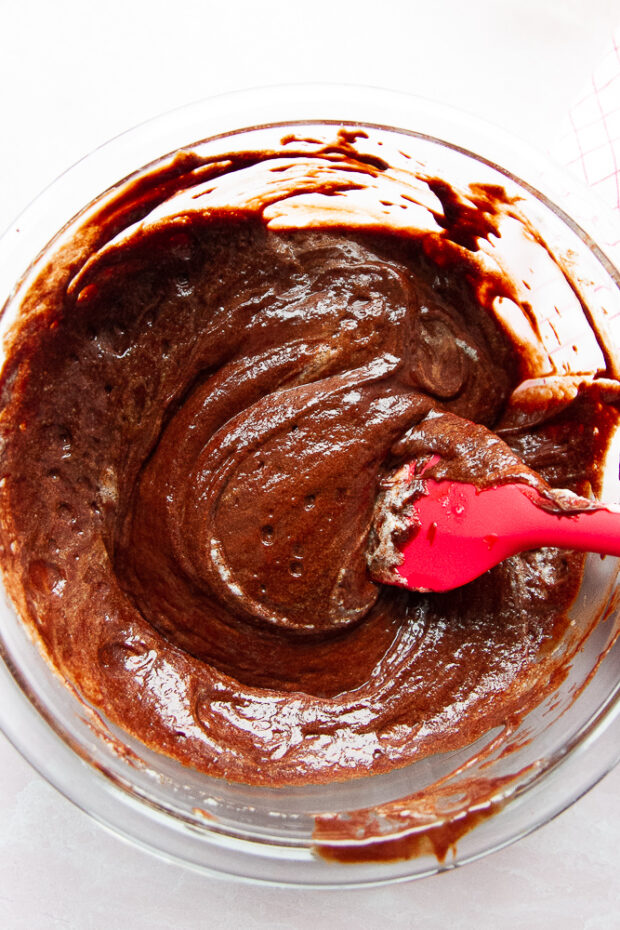
- Put ½ of the beaten egg whites into the bowl with the chocolate and fold them in gently until mostly combined. Add the other half of the egg whites and fold those gently as well. Don't over mix.
- Divide the chocolate batter among the six prepared muffin cups. They should be about ¾ full.
- Bake for 16-18 minutes or until the tops look dry and a little cracked (kind of like a brownie) and a toothpick inserted into the center comes out clean.
- Remove them from the oven and let them cool for about 20-30 minutes before removing them. If you aren't using liners, run a knife around the edges to loosen them and ease them out of their cups. The longer they sit, the easier they are to remove from the pan if you aren't using liners.
- Serve immediately with whipped cream and fresh berries. Best eaten the day you make them.
Notes
- If you want a dense, fudgey, dark chocolate cake you'll need to use couple of 70-80% chocolate bars. I recommend Lindt or Ghirardelli. Not chocolate chips.
- If you'd rather have a sweeter cake with more of a brownie texture, use semi-sweet or dark chocolate chips. Melt them the same way as directed in the recipe (and you don't need to chop them ;)) Also, you'll need to use paper liners for these to hold their shape better.
- This recipe doubles well if you need to make more than 6 chocolate cakes.
- I highly recommend using a silicone muffin tin if you have one -- they come out more easily and you don't need paper liners. I set mine on a cookie sheet to make it easier to get in and out of the oven. Look for one that is 100% silicone -- it'll be more nonstick and last longer.
Recommended Products
As an Amazon Associate and member of other affiliate programs, I earn from qualifying purchases.
-
 BAKE BOSS Silicone Mini Muffin Pan With Handles, 12 Cups Mini Cupcake Pan, Silicone Muffin Cups For Baking, Eggs & Cupcakes, Non-Stick Silicone Cupcake Molds Dishwasher Safe & BPA Free - Red Color
 -
 Lindt EXCELLENCE 70% Cocoa Dark Chocolate Bar, Chocolate Candy for Christmas and Holidays, (70% Cocoa, 4 Pack)
Nutrition Information
Yield 6 Serving Size 1 cakeAmount Per Serving Calories 275Total Fat 22gSaturated Fat 12gTrans Fat 0gUnsaturated Fat 7gCholesterol 84mgSodium 91mgCarbohydrates 16gFiber 4gSugar 8gProtein 5g
The information shown is an estimate provided by an online nutrition calculator. It should not be considered a substitute for a professional nutritionist’s advice.
This post may contain affiliate links. Any purchases made by using these links won't cost you any extra and helps keep my content free. These links may be Amazon links as I am part of the Amazon Associate Program.